Do you need an inverter?
While inverters let you run 120V AC household devices from a 12V vehicle system, they add significant cost, complexity, and inefficiency, especially for high-wattage appliances like coffee makers and induction cooktops. For most expedition setups focused on fridges, lights, comms, and laptops, a DC-first design with 12V-native chargers is simpler, cheaper, and more efficient than adding an inverter. Inverters are best reserved for mission-critical AC-only tools, medical/scientific equipment, or occasional AC loads supported by a properly sized lithium battery bank.
Do You Really Need an Inverter in Your Expedition Electrical System?
Most of the world you live in at home runs on 120V AC. Your vehicle does not.
On the road, your entire Electrical Architecture is built on 12V DC. Any time you decide to bring 120V AC into that ecosystem, you’re making a deliberate engineering trade: convenience versus complexity, cost, and efficiency.
This Field Log is about understanding that trade so you can decide, with clear numbers, whether an inverter belongs in your System at all.
The Urge to Bring the House With You
We’ve all done it.
You leave the driveway intending to simplify. A few trips later, there’s a coffee maker, an induction cooktop, and a laptop bag riding shotgun. The modern expedition vehicle can easily become a rolling extension of your kitchen and office.
Can you run all of that off your vehicle? Yes.
The better question is: what does it cost your System to do it?
In our own builds over the last two decades, we’ve run 120V crock pots on snow runs, powered microwaves out of Land Cruisers, and made more than one batch of novelty camp nachos. It works. It’s also rarely necessary.
For many clients, the most reliable, field-proven solution is to keep the System as DC-native as possible and reserve 120V AC for the few items that truly demand it.
What an Inverter Actually Does
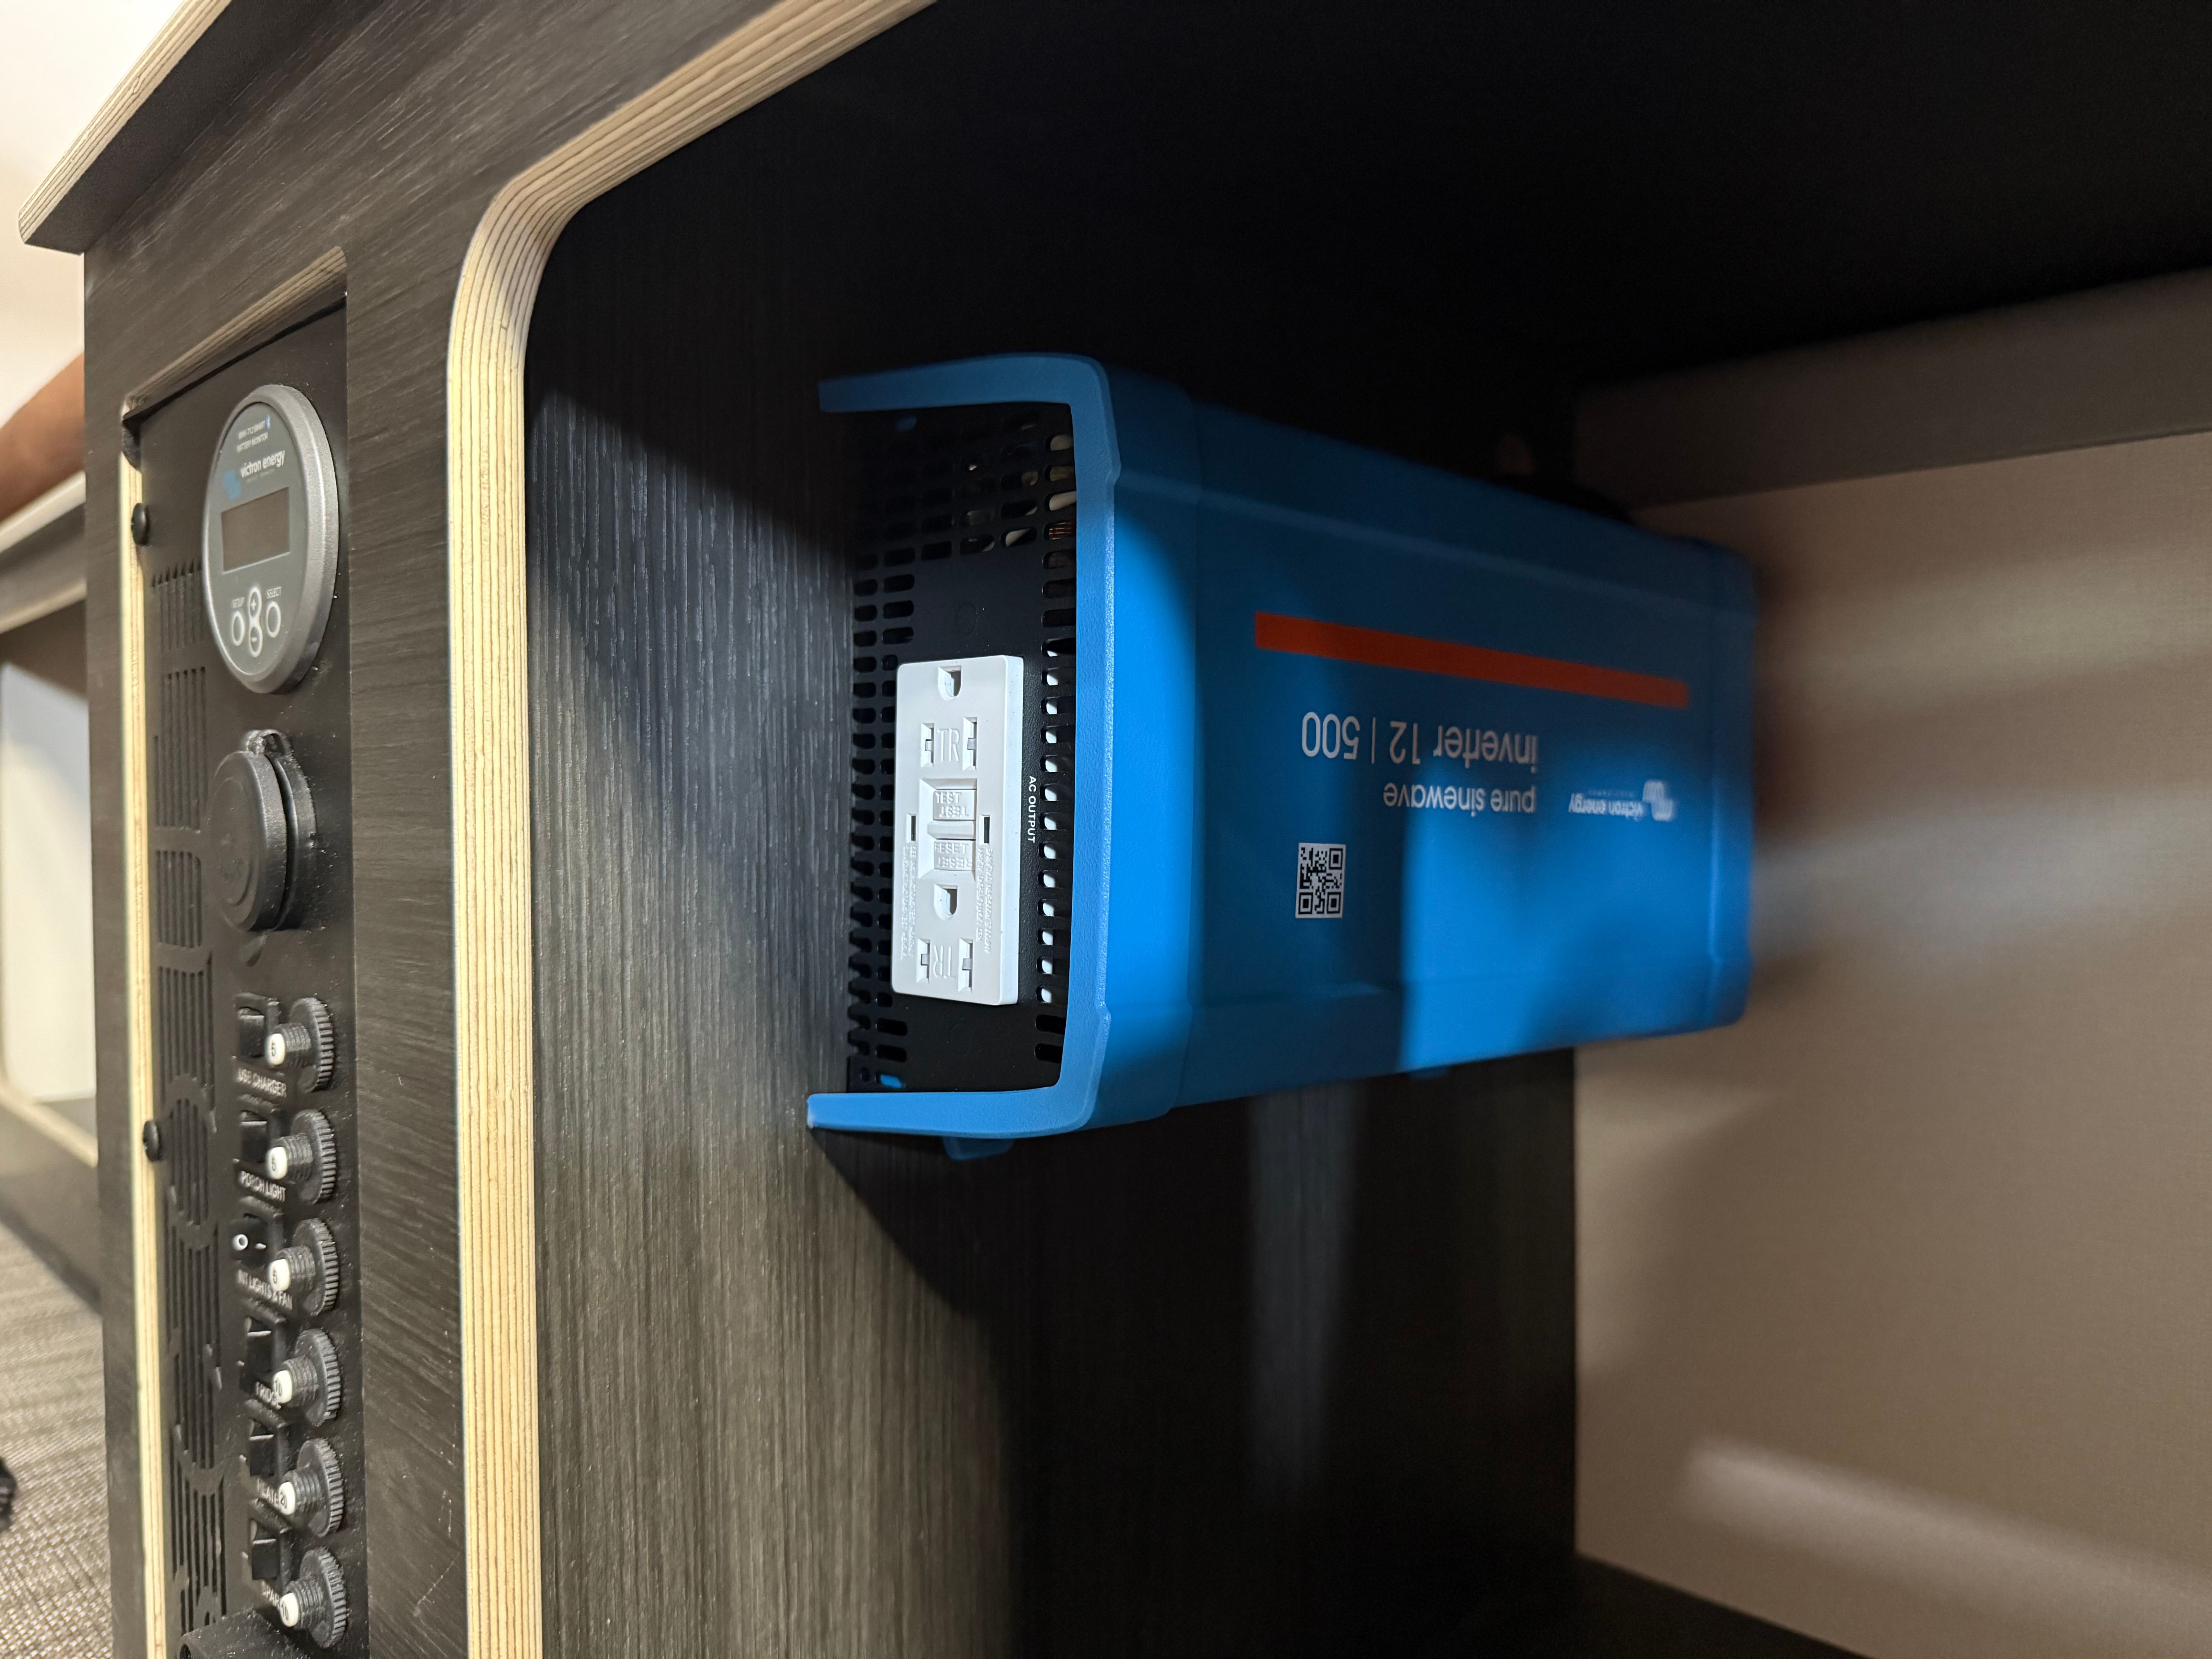
An inverter’s job is simple on paper: convert 12V DC from your battery into 120V AC for household-style devices.
They’re rated in watts: 400W, 1,000W, 2,000W, and so on. To size one correctly, you need to know what you’re trying to power and how much it draws.
The core formula is:
Watts = Volts × Amps
At 120V AC, that looks like this:
- Laptop computer: 0.5–2.0A → 60–240W
- Electric blanket: 1–2A → 120–240W
- Drip coffee maker: 5–15A → 600–1,800W
- Induction cooktop: 12–15A → 1,440–1,800W
Most inverters are not 100% efficient. By the time you account for conversion losses, you should add 10–15% overhead to whatever you think you need.
So if your coffee maker or induction cooktop is in the 1,800W range, you’re realistically looking at a 2,000W inverter to support that load with a margin of safety.
What a 2,000W Inverter Demands From Your 12V System
This is where the numbers stop being theoretical and start impacting your Architecture.
To understand the DC side, you flip the formula:
Amps = Watts ÷ Volts
A 2,000W inverter at 12V DC looks like this:
- 1,800W ÷ 12V ≈ 150A continuous draw
That’s a serious current. It drives decisions in three areas: wiring, battery capacity, and cost.
Wire Size and Distance
High current over distance means voltage drop and heat. To move that kind of power safely, cable size and run length matter:
- Around 2 AWG at ~8 ft (2.4m)
- Around 1 AWG at ~14 ft (4.3m)
- Around 2/0 AWG at ~20 ft (6.1m)
Those are large conductors, with real cost and installation complexity. The inverter wants to live close to the battery bank, not at the far end of the vehicle.
Battery Capacity and Runtime
Now look at the battery side.
A common auxiliary battery size in traditional AGM systems is around 110Ah. At 12V, that’s roughly 1,320Wh of stored energy on paper. In practice, you never want to fully discharge an AGM battery if you care about lifespan.
At a 150A draw, you can do the math:
- A single 110Ah AGM can be heavily depleted in the time it takes to make a pot of coffee.
With a larger lithium bank, the story improves. Lithium can tolerate deeper discharge and higher current. But the principle remains: high-wattage AC appliances are extremely demanding on a 12V System.
The Real Cost of a Cup of Coffee
By the time you add up:
- A quality 2,000W pure sine inverter
- Proper cabling and protection (fusing, disconnects, terminations)
- Mounting, ventilation, and labor to install it correctly
You’ve invested a meaningful amount of money and complexity into your Architecture — often to replicate a task that could be solved more elegantly on 12V or with a different camp routine.
The point isn’t that inverters are bad. It’s that they should earn their place in the System.
When an Inverter Makes Sense
There are legitimate reasons to integrate 120V AC into an expedition vehicle:
- Specialized tools that only exist in AC form and are required for your work in the field.
- Medical or scientific equipment with no DC equivalent.
- Occasional, short-duration AC loads where the convenience justifies the overhead and your battery bank is sized accordingly.
In those cases, we treat the inverter as a mission-specific module in the Electrical Architecture. It gets the same engineering attention as a compressor or a fridge: correct cable sizing, proper mounting, ventilation, and integration with your charging sources (alternator, solar, DC-DC chargers).
When You Probably Don’t Need One
Most of the time, the push for an inverter comes from a single perceived need: charging a laptop.
This is where the System thinking pays off.
If you look halfway down your laptop’s power cord, you’ll find the AC adapter — a small box with a label. On that label you’ll usually see something like:
Input: 100–240V AC
Output: 15V DC (or 19V, or similar)
Your laptop is a DC device. The brick is converting 120V AC down to low-voltage DC.
If you plug that brick into an inverter in your vehicle, the power path looks like this:
- Vehicle battery: 12V DC
- Inverter: 12V DC → 120V AC
- Laptop brick: 120V AC → 15–20V DC
You’ve just converted DC → AC → DC to charge a DC device. Every step loses energy as heat. It’s functional, but it’s not elegant.
A far better approach is to stay in the DC domain:
- Use a 12V DC laptop charger designed for your specific machine.
- Plug directly into your vehicle’s 12V outlets or a dedicated DC distribution panel.
In practice, this is:
- Cheaper than a large inverter and heavy cabling.
- More efficient, preserving your battery capacity for refrigeration, lighting, and communications.
- Simpler, with fewer conversion stages and failure points.
For many clients, once laptops and small electronics are handled on DC, the remaining reasons for an inverter disappear.
Designing a DC-First Electrical Architecture
When we design Electrical Systems for long-range vehicles, we start with a DC-first mindset:
- List your real loads. Fridge, lights, comms, water pump, laptops, camera gear, maybe a diesel heater. Most are DC-native or have DC charging options.
- Size the battery bank for those loads and your expected days between charge opportunities.
- Add charging sources — alternator, DC-DC charger, solar — to support that profile.
- Only then decide if any remaining requirements truly demand 120V AC.
If the answer is yes, we integrate an inverter as a deliberate module in the Architecture, not as a default accessory.
The Quiet Recommendation
If you genuinely need 120V AC in the field, build for it properly. Use the right inverter, the right cable, and a battery bank that can support the load without compromising the rest of your System.
If your main concern is simply keeping a laptop alive and a few small devices charged, skip the inverter. Stay DC. Your batteries, wiring, and wallet will all be better off.
From our own vehicles to client builds that have crossed continents, the most reliable Electrical Architectures are the ones that are as simple as they can be, and no simpler.
If you’re unsure where your use case lands, start by listing your loads and their wattage. The math will usually answer the inverter question for you.


